How to Use Resin for Decorative Craft Projects A Step-by-Step Guide
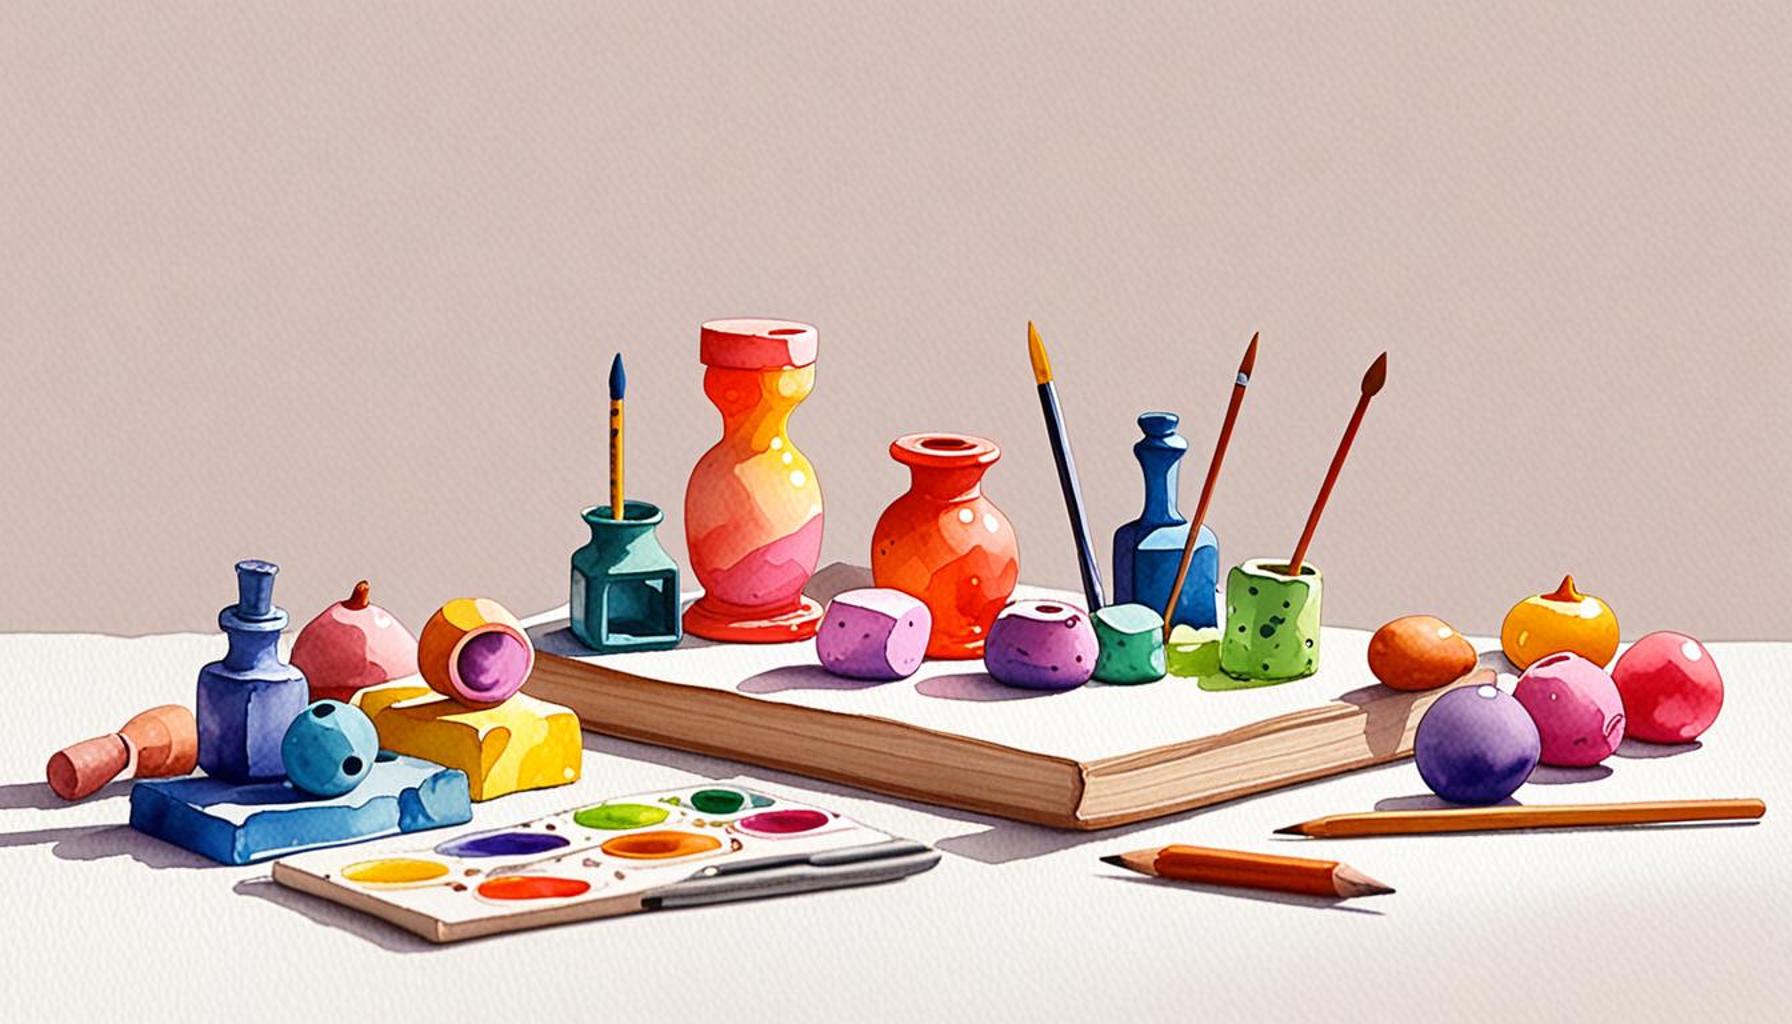
Unlock Your Creativity with Resin
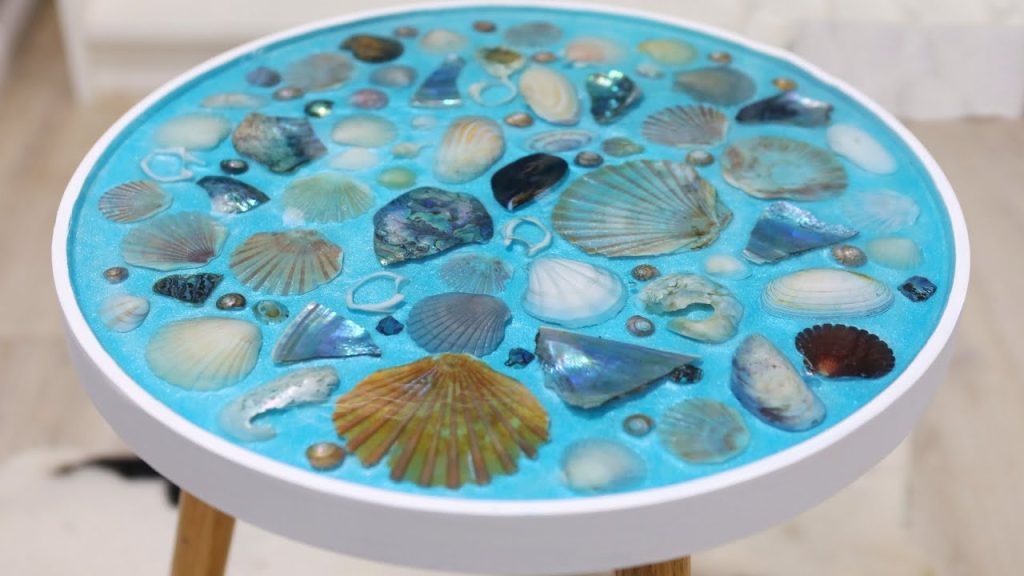
Resin has emerged as a popular medium for artisans and DIY enthusiasts alike, enabling the creation of stunning decorative pieces. From jewelry to home décor, resin offers endless possibilities to personalize your projects. The ease of use combined with the vibrant aesthetics makes it an appealing choice for both new and experienced crafters. For instance, resin coasters, river tables, and encapsulated flowers are just a few examples of the fantastic creations that can stem from this versatile material.
In this guide, we will explore step-by-step techniques on how to effectively use resin for your crafts. Understanding the basics is crucial, whether you’re pouring your first mold or looking for advanced techniques to refine your skills. The transformative power of resin can elevate everyday objects into bespoke art pieces that reflect your personal style, making the crafting process both enjoyable and fulfilling.
Why Choose Resin?
- Durability: Resin projects are long-lasting and weather-resistant, making them ideal for both indoor and outdoor use. Products such as outdoor tabletops can withstand the elements, maintaining their beauty through various seasons.
- Aesthetic Appeal: Achieve a glossy, glass-like finish that enhances the visual allure of your crafts. This quality makes resin lit-from-within, inviting light to dance across its surfaces, providing an elevated aesthetic to simple items.
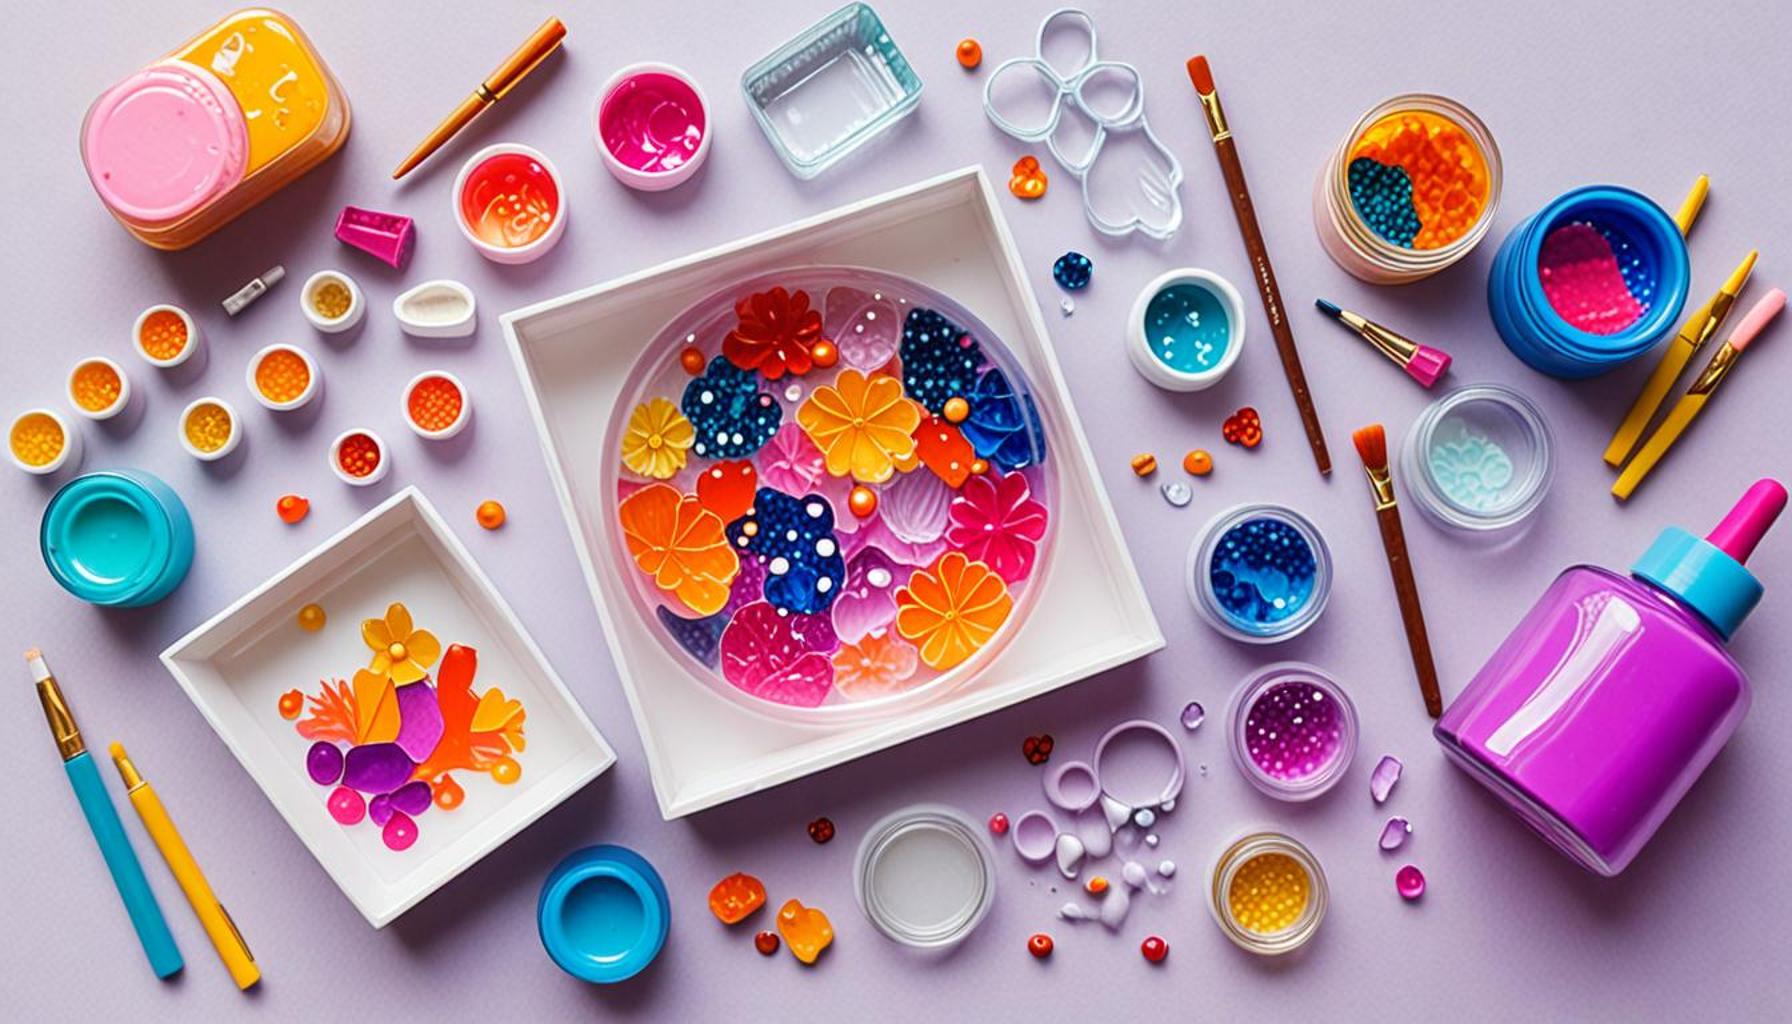
- Endless Customization: With resin, the possibilities are only limited by your imagination. Add pigments, glitters, and even embedded items like dried flowers or gemstones to create unique designs. This customization means your projects can be as personalized as you desire, reflecting your unique taste.
With the right tools and techniques, using resin can be a rewarding experience. Essential tools like mixing cups, stir sticks, and heat guns can streamline the process and enhance the quality of your final product. Additionally, safety gear such as gloves and masks should always be used when working with resin to protect your health.
This guide will not only help you understand the basics but also inspire you to create stunning pieces that reflect your personal style. By experimenting with colors, layering techniques, and embedded objects, you can cultivate a deep connection with the craft and explore the creative possibilities that resin offers.
Are you ready to dive into the world of resin crafting? Follow along as we unveil essential tips and tricks to master this captivating medium. As you embark on your resin journey, remember that practice is key, and every piece teaches you something new. Get ready to unlock your creativity and transform simple materials into extraordinary works of art!
CHECK OUT: Click here to explore more
Getting Started with Resin: Essential Materials and Safety Precautions
Before diving into the fascinating world of resin crafting, it is imperative to gather the necessary materials and understand the safety precautions associated with this medium. Proper preparation not only streamlines your crafting process but also ensures a safe and enjoyable experience. Here’s what you need to get started:
Essential Tools and Materials
- Resin and Hardener: Choose a high-quality epoxy resin that suits your project needs. The resin will typically come with a hardener that, when mixed together, initiates the curing process.
- Mixing Cups and Stir Sticks: Use disposable mixing cups for easy cleanup. Stir sticks should be sturdy enough to mix the resin and hardener thoroughly, typically for about 3 to 5 minutes.
- Protective Gear: Invest in gloves, goggles, and a mask. These items are critical for preventing skin contact and inhalation of fumes. Always work in a well-ventilated area to minimize exposure to harmful chemicals.
- Molds or Project Base: Depending on your desired outcome, select appropriate molds made of silicone or other material, or prepare a base, like a wooden board or canvas.
- Additives: Consider pigments, glitters, or other embellishments that can give your project a personalized touch and enhance its aesthetic appeal.
Once you have gathered your materials, the next crucial step is to set up your workspace. Choose a flat, stable surface that is protected with a drop cloth or plastic cover to catch any spills. Make sure the temperature in the room is suitable; ideal conditions are typically between 70°F to 75°F for the best curing results.
Understanding the Mixing Process
Mixing resin and hardener can be a delicate process, but it’s one of the most critical components in achieving successful results. Typically, the default ratio for many epoxy resins is 1:1, but always refer to the manufacturer’s instructions since ratios may vary. Here are some tips to ensure a smooth mixing process:
- Measure Accurately: Use a kitchen scale to weigh your resin and hardener if possible, as accurate measurements are vital for proper curing.
- Mix Slowly: Stir gently to minimize air bubbles, which can ruin the finish of your project. Ensure that you scrape the sides and bottom of the cup to incorporate all ingredients fully.
- Wait for Bubbles to Settle: After mixing, let the mixture sit for a few minutes to allow trapped bubbles to rise to the surface before pouring it into molds.
Following these initial steps prepares you for the fun part—pouring and creating! As you move forward, familiarize yourself with different techniques that allow for creativity and experimentation, including layering, swirling colors, or embedding various materials. Remember that resin crafting is a journey where every piece contributes to your learning experience, so embrace the process and let your creativity flow!
Understanding the Basics of Resin
When diving into the world of resin crafting, it’s crucial to first understand what resin is. Epoxy resin is commonly used in decorative projects due to its versatility and durability. When mixed with hardener, it transforms into a strong, glossy finish that can add elegance to any craft. Its clear nature allows you to embed objects, change colors, and create stunning effects that are unique to each piece.
Choosing the Right Type of Resin
There are different types of resin available for crafting, and selecting the appropriate one can significantly impact the outcome of your project. Here’s a brief overview of the most commonly used types:1. **Epoxy Resin**: Often used for casting and coating, epoxy resin is ideal for beginners due to its ease of use and quick curing time.2. **Polyester Resin**: This type of resin is typically used in more industrial applications, offering a strong finish but may require more expertise.3. **UV Resin**: Curing quickly under UV light, this resin is excellent for small projects or quick fixes, but may not always be as durable as epoxy.
Preparation Steps
Before you start pouring resin, proper preparation is essential to achieve a flawless finish. Here are some key prep steps:- **Gather Your Materials**: Ensure you have everything you need: resin, hardener, mixing cups, stir sticks, and any decorative items you plan to use.- **Choose a Safe Workspace**: Since resin can emit fumes, work in a well-ventilated area or wear a mask.- **Pre-measure Ingredients**: Follow the manufacturer’s instructions for ratio mixing; usually, it’s a 1:1 or 2:1 ratio of resin to hardener for optimal results.
Creating Your Decorative Piece
Now that you’re prepared, it’s time to unleash your creativity. Let’s break down the process.
Mixing the Resin
Start by pouring the measured resin into a mixing cup. Add the hardener according to the specified ratios and mix thoroughly. Aim for about 3-5 minutes of stirring to ensure that the components blend completely. This step is vital for the curing process to work correctly.
Coloring and Embedding Objects
If you wish to incorporate color, use resin pigments or dyes. You can also embed small items such as flowers, glitter, or even photographs, creating a personal touch to your project. Layering your materials can produce fascinating effects.
Pouring the Resin
Pour the resin slowly into your mold or onto your surface, starting from one corner to prevent air bubbles. Use a heat gun or torch to pop any bubbles that surface, ensuring a smooth and clear finish.
Curing Time
Finally, allow your resin to cure fully, which typically takes 24-72 hours depending on the type of resin and the thickness of your pour. Keep it in a dust-free area to ensure a flawless finish.With these guidelines at your disposal, you’re now ready to venture further into the art of resin crafting! The potential is endless, and experimentation may lead you to discover new techniques and styles. Look out for additional tips and advanced techniques in the upcoming sections to elevate your craft even more.
CHECK OUT: Click here to explore more
Pouring and Manipulating Resin: Techniques for Amazing Designs
Once you have successfully mixed your resin and hardener, it’s time to explore the exciting phase of pouring and manipulating your resin. This step is where your creativity truly takes flight, allowing you to create unique decorative pieces that reflect your personal style. Here, we will discuss some essential techniques that you can utilize to bring your vision to life.
Layering for Depth and Dimension
Layering is one of the most captivating techniques in resin art, providing depth and complexity to your creations. To achieve this effect:
- Pour Initial Layers: Start with a thin layer of resin and let it cure about 50% before adding another layer. This partial curing helps the layers bond together, preventing separation.
- Experiment with Colors: Use different pigments to create colorful layers. You can add dyes or alcohol inks to your mixed resin, allowing each layer to have a distinct hue.
- Flattening Textures: Adding various textures, such as pressed flowers or seashells, between layers creates an eye-catching visual effect. As the resin layers overlap, the textures become part of the design, enhancing its aesthetic appeal.
Swirling Colors for a Marbled Effect
For those looking to incorporate a beautiful swirl design into their resin project, the marbling technique can be a game-changer. Here’s how to achieve a stunning marbled look:
- Choose Compatible Pigments: Use transparent or translucent colors that can blend well. Ensure they’re compatible with the resin type to avoid issues.
- Pour Strategically: Pour your colored resin into the mold in random sections. Avoid overthinking the placement; spontaneity is key.
- Create Swirls: Use a stick or a spatula to gently swirl the different colors together. Be cautious not to mix too vigorously, as this can muddy the effect.
Embedding Objects for Unique Aesthetics
Embedding decorative objects, such as beads, glitter, or even small mementos, is another fantastic way to personalize your resin crafts. This technique allows you to create a unique piece that tells a story:
- Select Your Embedments: Choose items that are clean and dry. Consider using items like dried flowers, photographs protected with resin, or even customizable molds containing meaningful objects.
- Pour a Base Layer: Start by pouring a base layer of clear resin and let it set slightly. This will create a buffer to prevent items from floating.
- Strategically Arrange Items: Place your objects on the semi-cured layer, ensuring they are positioned as desired before carefully pouring more resin over them.
Each of these techniques offers opportunities for endless creativity. As you practice and experiment with different methods, you will refine your skills and develop a unique style. Remember, resin crafting is not just a project; it’s an expansive journey filled with exploration and learning. So, embrace the process, get messy, and let each pour unleash your artistic potential!
CHECK OUT: Click here to explore more
Conclusion: Unlocking Your Creativity with Resin Crafting
In conclusion, the transformative world of resin crafting offers endless possibilities for creating stunning decorative projects. By following the step-by-step guide outlined, from mixing and pouring to techniques like layering, marbling, and embedding objects, you can easily bring your unique visions to life. Each method not only allows for individual expression but also provides an avenue for exploration, sparking your creativity in ways you may not have imagined.
As you delve deeper into the art of resin, take the time to embrace experimentation and learn from both successes and challenges. Don’t shy away from pushing the boundaries of what you can create—add your personal touch with colors, textures, and embedments that resonate with you. It’s imperative to remember that crafting with resin is as much about the journey as it is about the final piece. Be prepared to discover your artistic identity through this enchanting medium.
With a growing community of resin enthusiasts and abundant resources available online, you are equipped to elevate your projects and acquire new techniques. Dive into forums, watch tutorials, and connect with fellow crafters to further enhance your skills. So, gather your materials, let your imagination soar, and transform ordinary objects into extraordinary treasures through the passionate art of resin crafting!